Redux Punch : Build React and Redux UI
Posted in Recipe on June 17, 2022 by Venkatesh S ‐ 4 min read
What is Redux Punch?
- Redux punch is a project recipe bootstrapped with Create React App and then all the goodies of redux, react-redux, react-router-dom, redux-persist, redux-thunk and reselect are added.
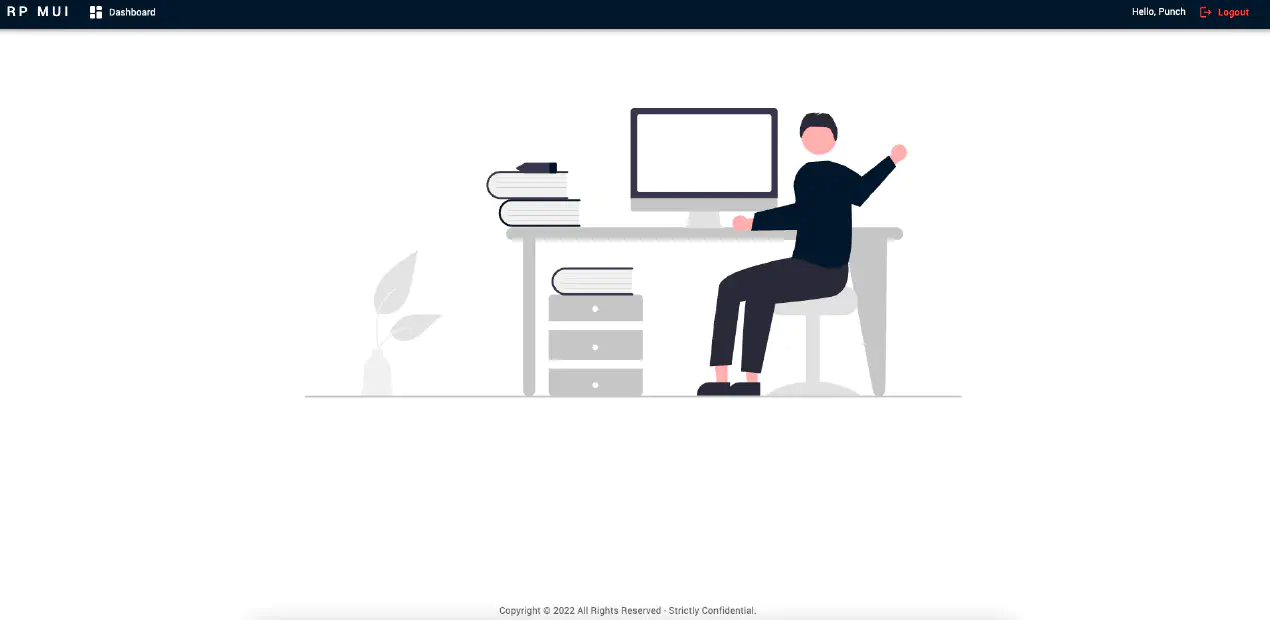
- Clean ux interface integration with material ui is done.
Why Redux Punch?
- Inspired by Convention Over Configuration Approach (COCA), Redux Punch provides some default convention using which ui application development becomes a breeze.
- Users of Redux Punch do not need to know all the inner details how the frameworks work but can follow a simple convention to make everything work.
How to use the framework?
The framework has 6 folders under src
- actions - where all redux actions are declared
- reducers - where all redux states are decided using the previously defined actions
- store - where all the reducers are declared for saving the state in a redux store
- thunks - contains actions that fetch data from APIs and create or update the state by dispatching to reducers to manage states
- selectors - where data from state is returned to the ui components without ui components knowing about how to fetch state data
- components - where all react ui components reside, you can use material ui out of the box to create ui components here
Adding a new action
Adding a new action is very simple
- Add a new actions file in the actions folder say ‘mynewaction.js’
- Include your new action in the file
export const MY_NEW_ACTION = "MY_NEW_ACTION";

export const myNewAction = () => ({
    type: MY_NEW_ACTION
});
- You can continue to add more actions to the same file or create new files as per your requirement
Adding a new reducer
- Add a new reducer file in the reducers folder say ‘myreducers.js’
- Include your new reducer in the file, should work in most of the cases
import {
    MY_NEW_ACTION,
} from "../../actions/mynewaction";

export const myNewAction = (state = "", action) => {
    const { type, payload } = action;
    switch (type) {
        case MY_NEW_ACTION:
            return payload;
        default:
            return state;
    }
};
- You can continue to import more actions and add more reducers to the same file or create new files as per your requirement
Adding the reducer to the store
- Import your new reducer in the store.js file and include the same in the reducers object
import { myNewAction } from "../reducers/myreducers";

...

const reducers = {
    ...
    myNewAction
};
Adding Thunks to fetch data
- Add the logic to fetch your data and dispatch to the new reducers created to update the state. A typical method in thunk is as shown below. Create a new thunk ‘mynewthunk.js’ and continue adding your logic
import {
    myNewAction
} from "../../actions/mynewaction";


export const fetchData = () => async (dispatch) => {
    try {
        dispatch(startLoading());
        const response = await fetch(`${BASE_URL}/api/endpoint`, {
            headers: {
                "Content-Type": "application/json"
            },
            method: "get",
        });
        const responseData = await response.json();
        if (response.status === 200) {
            dispatch(myNewAction(responseData));
        } else {
            dispatch(
                displayMessage(
                    "Could not fetch the data successfully."
                )
            );
        }
        dispatch(stopLoading());
    } catch (e) {
        console.log(e);
        dispatch(
            displayMessage(
                "Error occurred. Retry action."
            )
        );
        dispatch(stopLoading());
    }
};
Adding selector to get data
- Create a new selector say ‘mynewselector.js’ in the selector dir and add the actions to fetch data from the state
export const getDataFromState = state => {
    return state.myNewData;
};
Adding a new component
- Create new components and bind the state and actions as shown below. Note the ‘connect’ method that connects the state and dispatch with the components
import React from "react";
import { connect } from "react-redux";
import { getDataFromState } from "../../selectors/mynewselector";
import { fetchData } from "../../thunks/mynewthunk";

const MyNewComponent = ({ myNewData }) => {
    return (
        {myNewData} // you can use your data here
    );
};

const mapStateToProps = state => ({
    myNewData: getDataFromState(state)
});

const mapDispatchToProps = dispatch => ({
    getNewDataOnButtonClick: () => {
        dispatch(fetchData());
    }
});

export default connect(mapStateToProps, mapDispatchToProps)(MyNewComponent);
Refer this project to see everything in action
Setting up the Project
- Pull the source code and cd to redux-punch dir.
git clone https://github.com/vensr/redux-punch.git
- Install all dependencies
yarn install
- Start the app
yarn start
- Access the app at http://localhost:3000
- You can then modify the code to suit your needs or take inspiration from the code to do whatever you wish to
Try using Docker
Try running the app without setting up any code
- Pull docker image
docker pull venkatesh5/redux-punch
- Run the image
docker run -it -p 3000:3000 venkatesh5/redux-punch
Running in Production
The project contains a docker file that can be used to build the docker image to run in production.
- Build the image using
docker build -t redux-punch .
- Run the built image using
docker run -it -p 3000:3000 redux-punch
- Access the app at the http://localhost:3000
Source Code and Documentation
Complete source code and documentation available at https://github.com/vensr/redux-punch.


