OpenAI (ChatGPT) : Easy API integration with OpenAI models
Posted in Recipe on February 16, 2023 by Venkatesh S ‐ 3 min read
It’s a buzz word, ChatGPT, OpenAI. What can be done using this tech is quite amazing.
I will be talking about a simple api integration service that I have implemented here that connects to OpenAI and then helps you generate some sample code using codex model series and code-davinici-002 model.
Note that this will be a code download, run and test for a very simple integration. For more detailed use cases and API references, check the API documentation of openai available at https://platform.openai.com/docs/introduction/overview
Getting Started with OpenAI
In order to work on API integration with OpenAI, you will have to follow this 2 steps.
SignUp on OpenAI.
Generate an API key once you login at https://platform.openai.com/account/api-keys
Now you are all ready to go ahead with the OpenAI integration.
Implementing the API integration service with OpenAI using Python
Here is how you can setup this application and try things out by yourself.
If you don’t have Python installed, install it from here
Clone https://github.com/vensr/openai-codegen repository
git clone https://github.com/vensr/openai-codegen.gitNavigate into the project directory
cd openai-codegenCreate a new virtual environment
python -m venv venv
. venv/bin/activate
Install the requirements
pip install -r requirements.txtMake a copy of the example environment variables file
cp .env.example .envAdd your API key to the newly created
.envfileRun the app
flask run
You should now be able to access the app at http://localhost:5000.
Understanding the Source Code
The whole source code that provides the integration with openai is available in app.py file of the source code. Refer the documentation on the source for more details.
   import os

   # importing openai
   import openai
   from flask import Flask, redirect, render_template, request, url_for

   # starts the flask server with a HTML page to send the inputs
   app = Flask(__name__)

   # ensure that the OPENAI_API_KEY environment variable is set in the .env file
   openai.api_key = os.getenv("OPENAI_API_KEY")


   @app.route("/", methods=("GET", "POST"))
   def index():
      if request.method == "POST":

         # reading the code value from the UI text box
         code = request.form["code"]

         # hitting the openai API and getting back the response
         # note that the model="code-davinci-002" is used here
         # Also temperature is set to 0.6, check documentation on choosing your perfect value
         # max_tokens, the maximum number of tokens to generate in the completion.
         # refer https://platform.openai.com/docs/api-reference/completions/create for more details
         response = openai.Completion.create(
               model="code-davinci-002",
               prompt=generate_prompt(code),
               temperature=0.6,
               max_tokens=2048
         )

         # redirect the response to the index page to display the same
         return redirect(url_for("index", result=response.choices[0].text))

      result = request.args.get("result")
      return render_template("index.html", result=result)


   # creates the required format for doing the API call
   def generate_prompt(code):
      return "/*" + code + " : */"
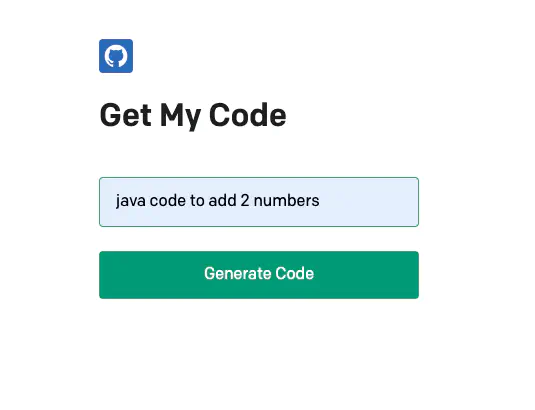
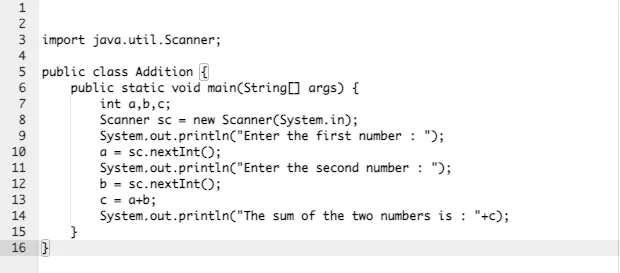
The inputs can be keyed in through the view and response seen on the view as well. The following screenshots refers to the same.
Home page where you can enter what code you need
Source code returned from the OpenAI service
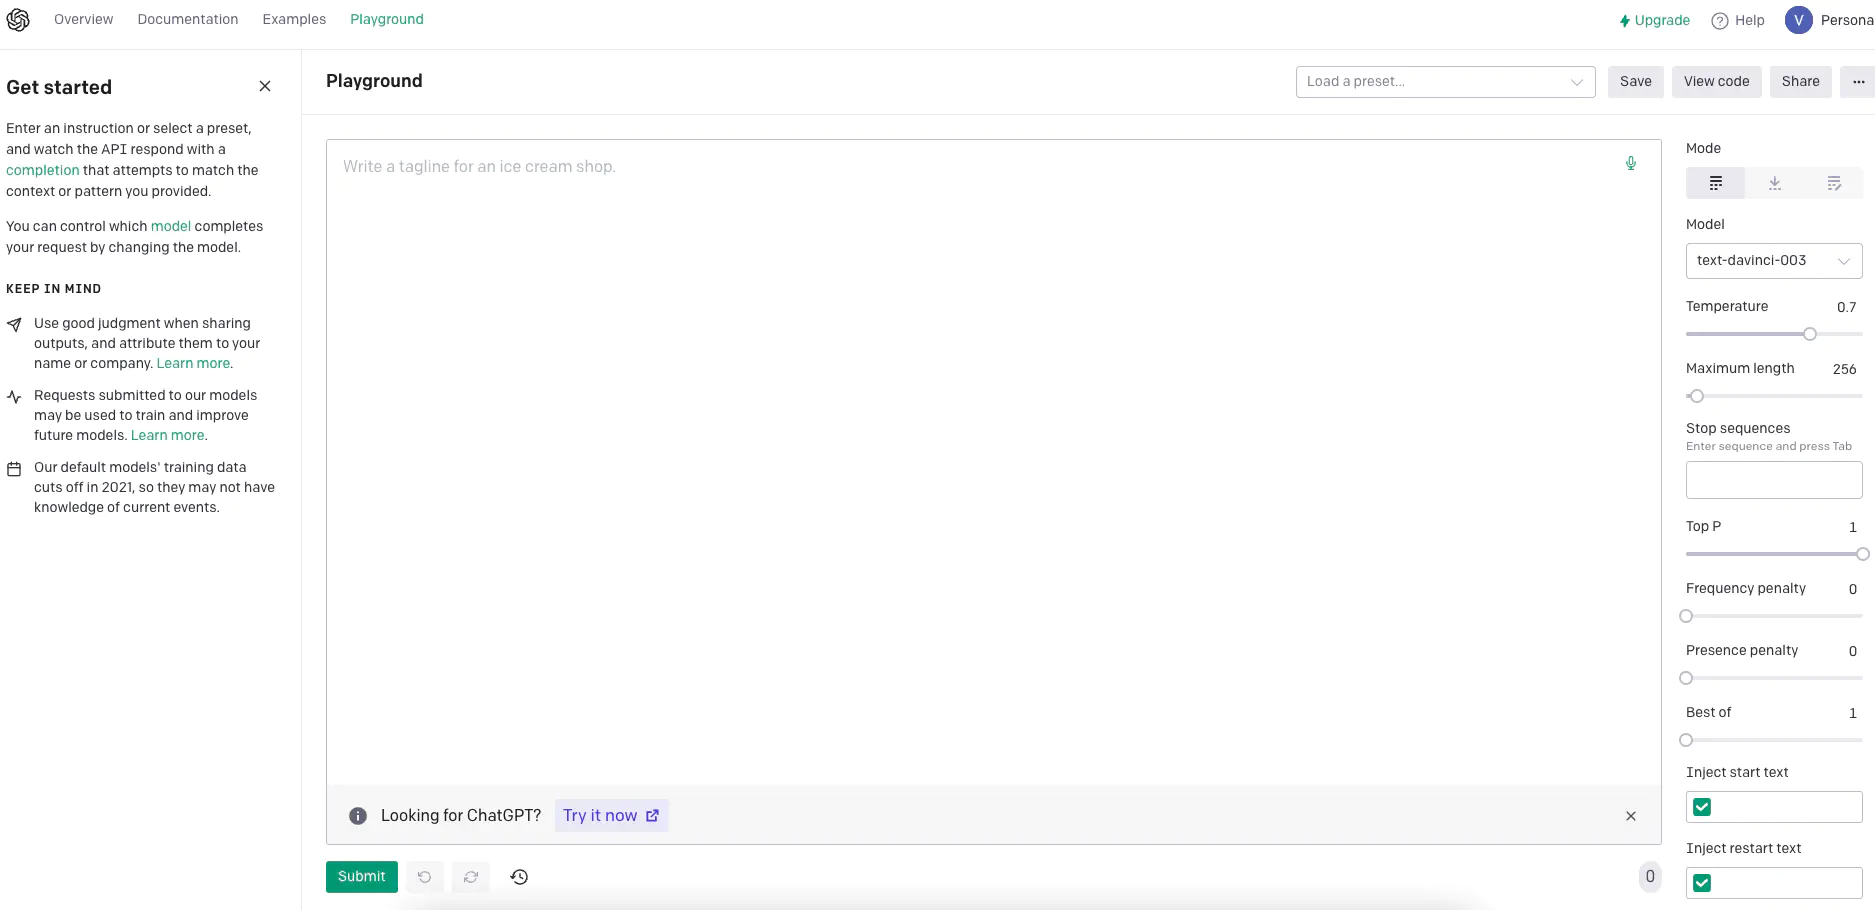
PlayGround
OpenAI also provides a playground where you can just login and play by selecting multiple models, balancing temperature and other parameters. This is available at https://platform.openai.com/playground and looks like the screenshot below.